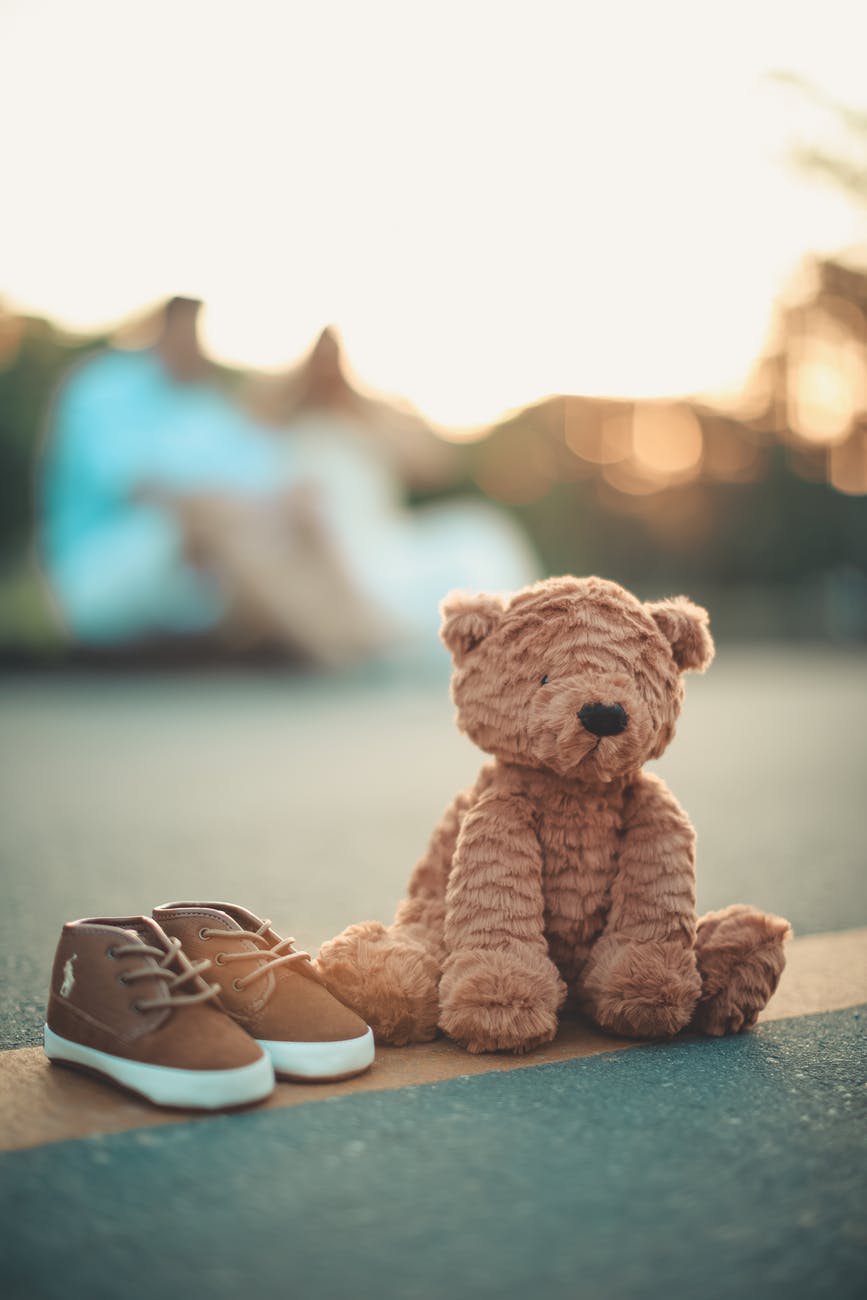
Teddy bears are a vital part of childhood and they are a great companion for adults as well. We all have happy memories attached to teddy bears and these memories will always come flooding back. Handmade teddy bears can be given as a gift to a loved one and they are great gifts for baby showers as well because they can be safely given to a newborn considering that it is made of a safe and washable material.
When getting handmade artist bears made, you can ask the artist to choose materials that you prefer. You can also check the websites of artists that create handmade bears to see what they have done previously. Traditionally, glass eyes were used but they can be pulled out easily by a child. The same can be done with button eyes. You can make sure that the teddy bear is safe to be used even by a very young child by taking out materials that can be pulled off the teddy bear and swallowed. There is a large variety of teddy bears that you can find on the market.
There are even clothes made for teddy bears. The construction of teddy bears has changed over time. Different materials are used today. There are teddy bears that are made using different fibres so that the furriness of the toy can be pronounced. There are also materials such as synthetic fabric, denim, velvet, velveteen, silk, wool, nylon, rayon etc. that are used to make teddy bears.
The artist will sketch the design for the teddy bear and this will be developed over a series of sketches. The pieces of the bear will then be drawn to make a pattern. This pattern can be cut and used to assemble the bear. First, a prototype will be created to get an idea of how the design works and to ascertain whether there are any issues with this first design.
After assessing the flaws of the prototype, the pattern will then be updated and the pieces to cut will be altered. This is also the stage where different colours and fabrics will be used. In large manufacturing plants, there will be several prototypes that will be created before the final product.
Once the design is confirmed, the pattern will be made out of paper and pinned to fabric. The small pieces of the teddy bear will be assembled first and the small characteristics of the bear will be added at this point such as the eyes. This is also the stage where grommet attachments will be fixed to the face.

The different parts of the bear will be stitched together. The bears are stitched inside out and the seams will be exposed. Towards the end, the bear will be pulled the right side out and it will be time for stuffing the bear. The stuffing can be of wool, polyester fibre, cotton etc. You will need to manipulate the bear so that stuffing is directed to all parts of the bear. You need to make sure that the feet and head of the bear are firm while still maintaining a squishy body that is soft. The bear has to be huggable and you need to ensure the softness of the bear is maintained. Fine details such as adding ribbons will be at the end of the process.
how to make hand made teddy bears
In this post we will learn how to make hand made teddy bears. This is a perfect project for kids and adults alike. We’ll start by picking the right materials, then move on to creating the bear’s parts. Finally, we’ll put it all together and finish up with some tips on customizing your teddy bear.
What you will need
To make your own hand-made teddy bear, you will need:
-A pattern for a teddy bear (you can find these online or in some craft stores)
-Fabric for the body and limbs of the bear (you can use any type of fabric, but something like felt would be best)
-Stuffing
-Thread and needle
-Scissors
-Pins
Once you have gathered all of your materials, you are ready to begin!
Instructions
Assuming you would like detailed instructions on how to make a hand-made teddy bear, here are some tips:
First, you will need some supplies. For the bear itself, you will need two pieces of fabric in the shape of ovals, stuffing, two black beads or buttons for the eyes, thread and needle, and scissors. For the nose, you can use either a small piece of felt or fabric, or embroider a nose directly onto the face of the bear. You will also need sewing pins.
Once you have gathered your supplies, it is time to start Sewing your bear together. Take one of the oval shaped pieces of fabric and pin it to the other piece, leaving about a one-inch opening at the bottom. This is where you will stuff your bear later on. Sew around the edge of the fabric, removing the pins as you go. Once you have sewn around the entire edge except for that one-inch opening, carefully turn your fabric right side out so that all of the seams are now on the inside.
Now it is time to stuff your bear. Use soft stuffing material to fill up your bear until it is plump but not overstuffed. Once your bear is stuffed to your liking, sew up that one-inch opening at the bottom using a needle and thread. Finally, add those finishing touches by adding beads or buttons for eyes and felt or embroidery for the nose. And there you
Tips and Tricks
When it comes to making teddy bears, there are a few tips and tricks that can help you get the best results. First, choose a high-quality fabric for your bear. This will make a big difference in how your finished product looks. Next, be sure to stuff your bear firmly, so it retains its shape. Finally, take care when stitching up your bear, as this will also affect its final appearance. With these tips in mind, you’ll be able to create beautiful hand made teddy bears that will last for years to come.